home > support > web design > wordpress plugin > loading
Loading your Tours
Before you can load your Tours in WordPress you will need to load them in your TourCMS account, there are plenty of guides in the support section of our website, the getting started video and the solution library should be particularly useful.
Feel free to contact us if you need any advice loading your products in TourCMS or other help evaluating the system, we can advise the best way and maybe even set up some examples.
Step 1: Loading products in TourCMS
The following criteria must be met before a Tour will be visible to WordPress:
- Account settings
- Upgrade to a paid TourCMS account if you haven't done so already
- You must configure at least one of your Channels for the TourCMS Marketplace (as this plugin uses the Marketplace API). To do this log in to TourCMS, head to TourCMS Marketplace, click Configure and fill in the required details
- Switch on the API in Configuration & Setup > API
- Individual product settings
- The Tour must be set to Distributed (in the Setup page for the Tour, under the General tab)
- The Tour must have some bookable future Dates and prices loaded
- The Tour must have all the basic Marketplace information completed, to see which information you still need to fill in for a particular Tour just head to Tours in TourCMS then click Descriptions & Images for the Tour and look in the Incomplete data tab
There is a slight "Catch 22" situation if this is a new website; one of the required pieces of information that you need to complete is a Product page URL. If you don't already have a website then you will not have a page on your website for the product and so have nothing to type in for the Product page URL, in this case you can enter any URL that works (i.e. isn't a 404 / "Page not found") - perhaps a temporary holding page or your homepage.
Don't forget you can enable a setting in the TourCMS Plugin settings page in WordPress to automatically send TourCMS your tour URLs.
The TourCMS Marketplace page in TourCMS will be useful as you progress loading your products, it shows which of your products are Live in the Marketplace (so should show up in WordPress) and which are Not distributed or Incomplete.
Step 2: Loading products in WordPress
Once you have configured the plugin settings you should see a new Tours menu in WordPress Admin, expand Tours and click Add new.
- Enter a Title for your Tour (it's a good idea to make this the same as the Tour name in TourCMS
- Optionally enter a description for the Tour, you can use shortcodes to insert information from TourCMS. If you are using TourCMS Theme you can likely skip this step as it will display descriptions from TourCMS automatically
- Optionally enter an Excerpt, this will be displayed when your visitors are looking at a list of Tours on your website and should be a brief summary
- In the TourCMS section choose the TourCMS product you are loading, once you have saved the Tour once this section will show additional information about the Tour, retrieved from TourCMS
- Click Update
You should now be able to click View Post or the View Tour button to take a look at your Tour online.
Product Type & Location
When you create/edit your products in WordPress you should see a box labeled Product Types and a box labeled Locations, these are known in WordPress as "Taxonomies" and are particularly useful when it comes to build your site navigation (main menu). Say for example, you offer a selection of Scottish Highland Tours; you can quickly create pages that list all of your Walking Tours or all of your Cycling Tours.
You can create new Product Types and Locations either by typing them in directly when you edit each Tour or via the Product Types and Locations Menus in the Tours section of WordPress admin. The latter method allows you to load a description against each, this description will be displayed to your visitors if you are using the TourCMS theme.
Once you have created your Product Types and Locations you will find that the Tour edit page auto-completes as you type, this makes loading a lot quicker (and less error prone!)

You do not have to create any Product types or Locations; however as mentioned it can be quite useful when building your site menu - especially if you have more than a handful of products. This is covered in more detail in the next page so you may wish to read that before loading too many products in WordPress.
 WordPress theme features
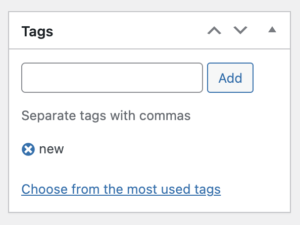
If you are using TourCMS WordPress Theme there are additional features, configured by adding tags to your tours using the "Tags" box on the right hand side of the tour edit page:
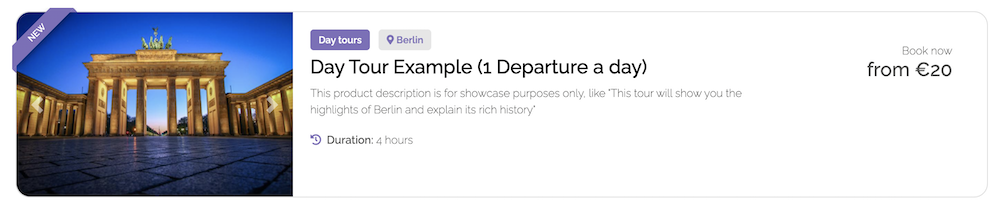
Promotional ribbons
By adding one of the tags new bestseller or offer, you can display a ribbon “NEW”, “BESTSELLER” or “OFFER” to the product tile in the product list. Just add the tag on the right hand side.
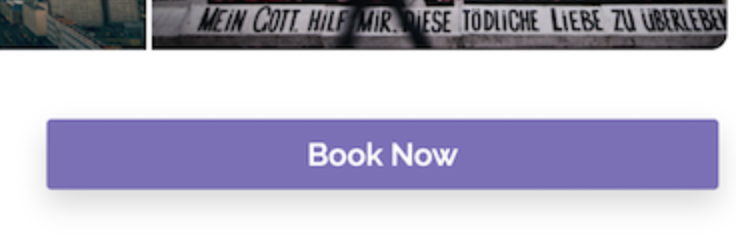
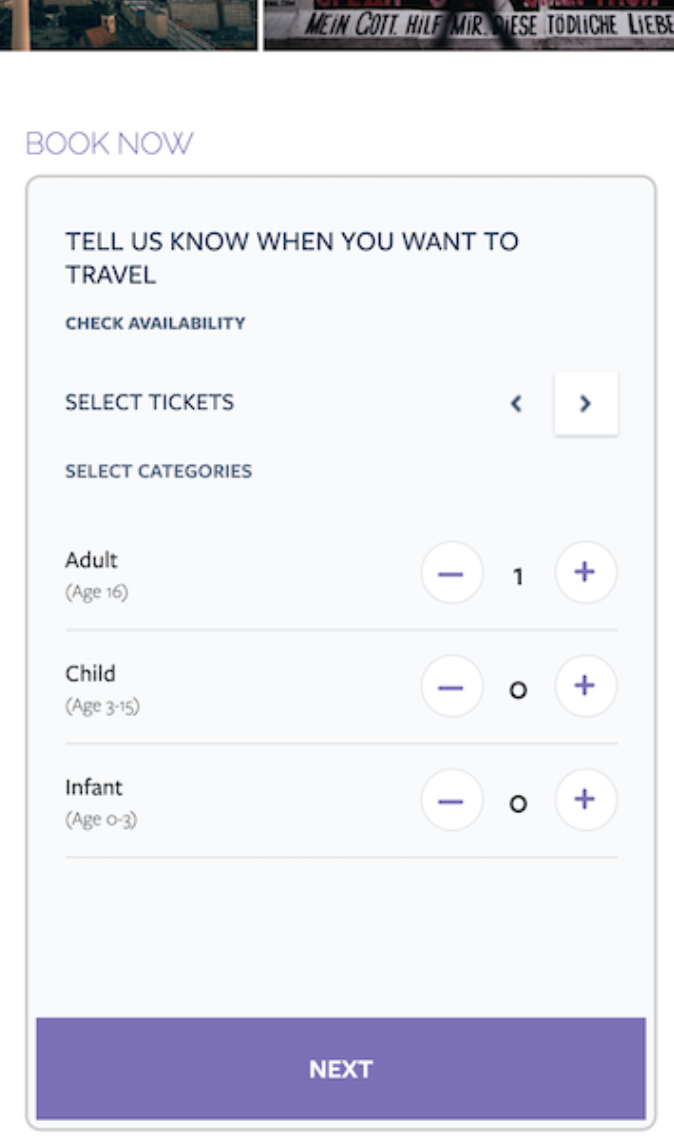
Booking engine appearance
The “normal” booking engine rendering features a calendar of availability at the top, followed by the selections of the tour guests, before it is passing this parameters the TourCMS hosted booking engine.
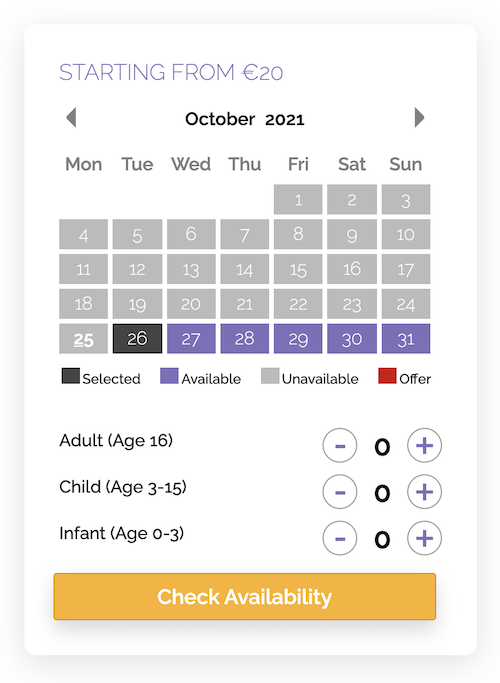
However, there are two options to a) just display a simple button by adding the minimal tag to your tour, and b) display the TourCMS hosted booking engine inline as iframe in the right part of the product page by adding the inline tag.
Hide sections of the page
Use the following tags to hide the corresponding part of the description for a particular tour: no-description no-duration no-highlights no-included no-excluded no-voucher no-pickup no-itinerary no-extras
- Overview & features
- Plugin Installation
- Theme Installation
- Loading tours
- Menu / Navigation
- WordPress Widgets